


2021/09/10
木工・電子工作・IoT・作ったもの試したものを記事にして投稿してます
Raspberry Piのカメラモジュールで、いろんな画像効果をつけて撮影できるので試してみました。
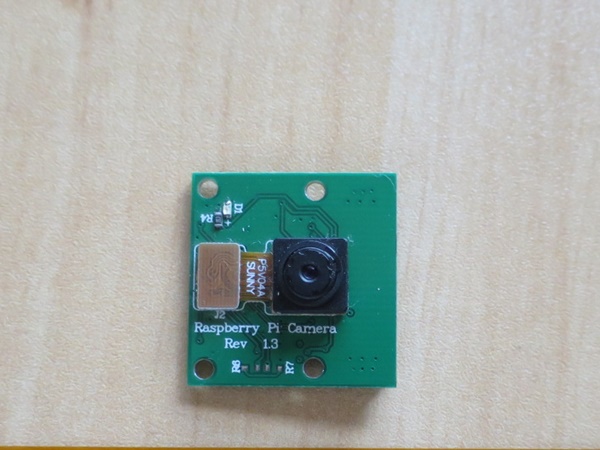
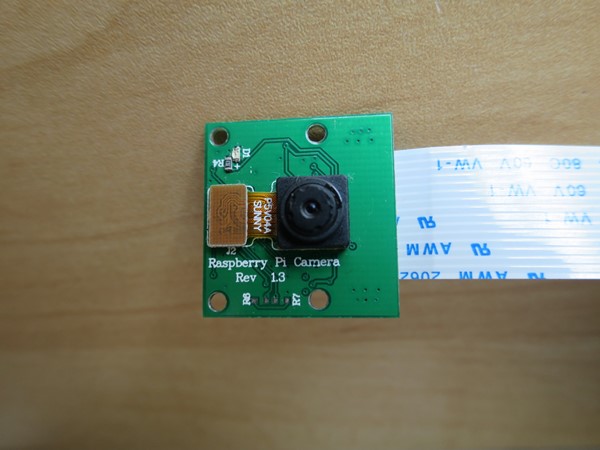
利用したのは第一世代のカメラモジュールRev1.3です。今は第二世代カメラモジュール、ハイクオリティカメラもでており、古いタイプです。
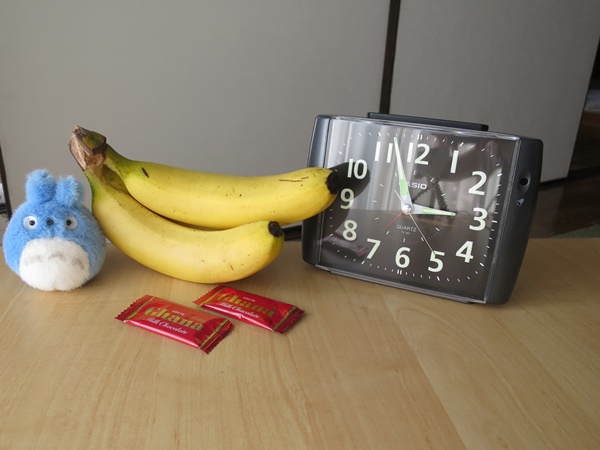
レースのカーテン越しの自然光で撮影。被写体は色の違いが分かりやすいようなものを準備。
カメラを固定するためにボール紙に挟んで、ミニ三脚に取り付けました。

ヘルプコマンドで確認できた、画像効果20個を全て試してみました。-ifxで指定しているコマンドが、画像効果です。
デフォルト。
$ raspistill -w 400 -h 300 -n -ifx none -o test1.jpg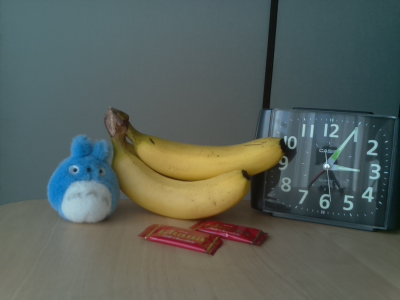
画像の色反転。
$ raspistill -w 400 -h 300 -n -ifx negative -o test2.jpg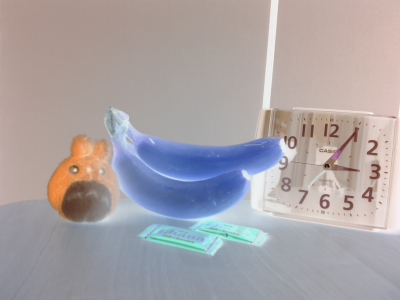
太陽光線。
$ raspistill -w 400 -h 300 -n -ifx solarise -o test3.jpg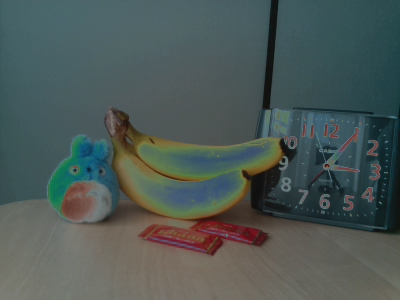
スケッチ。色鉛筆・クーピーで描いたようです。
$ raspistill -w 400 -h 300 -n -ifx sketch -o test4.jpg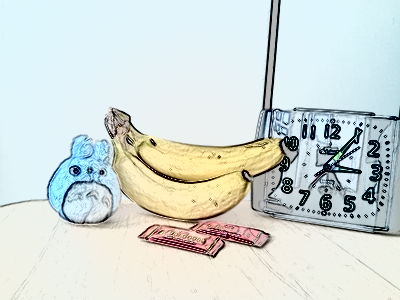
ノイズ除去。
$ raspistill -w 400 -h 300 -n -ifx denoise -o test5.jpg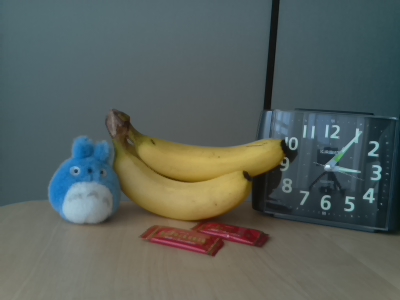
エンボス。さわったら凹凸が感じられそうです。
$ raspistill -w 400 -h 300 -n -ifx emboss -o test6.jpg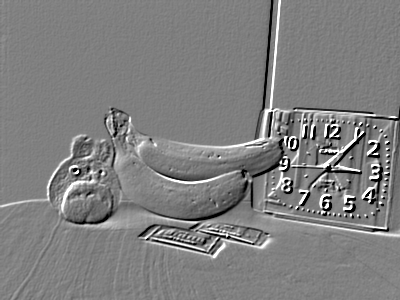
油絵。
$ raspistill -w 400 -h 300 -n -ifx oilpaint -o test7.jpg
ハッチング。
$ raspistill -w 400 -h 300 -n -ifx hatch -o test8.jpg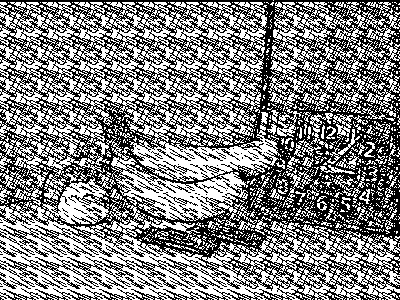
Gペン。
$ raspistill -w 400 -h 300 -n -ifx gpen -o test9.jpg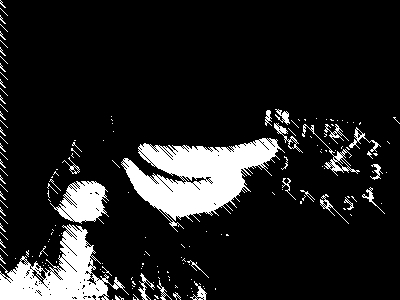
パステル。
$ raspistill -w 400 -h 300 -n -ifx pastel -o test10.jpg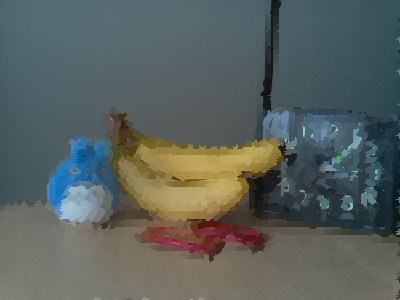
水彩画。
$ raspistill -w 400 -h 300 -n -ifx watercolour -o test11.jpg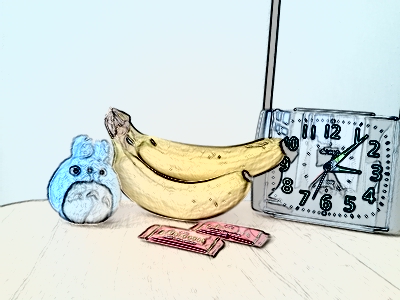
フィルム。昔の写真みたいです。
$ raspistill -w 400 -h 300 -n -ifx film -o test12.jpg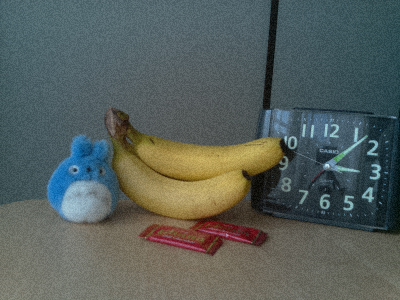
ぼかし。
$ raspistill -w 400 -h 300 -n -ifx blur -o test13.jpg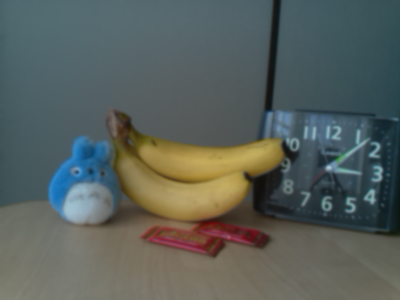
飽和。
$ raspistill -w 400 -h 300 -n -ifx saturation -o test14.jpg
カラースワップ。
$ raspistill -w 400 -h 300 -n -ifx colourswap -o test15.jpg
ウォッシュアウト。モノトーンぽくなりました。
$ raspistill -w 400 -h 300 -n -ifx washedout -o test16.jpg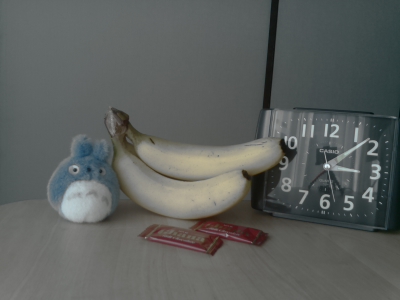
ポスタリゼーション。バナナがアンディ・ウォーホルの絵みたい。
$ raspistill -w 400 -h 300 -n -ifx posterise -o test17.jpg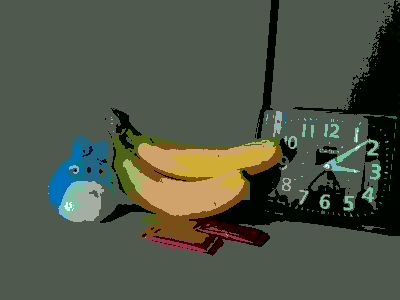
カラーポイント。
$ raspistill -w 400 -h 300 -n -ifx colourpoint -o test18.jpg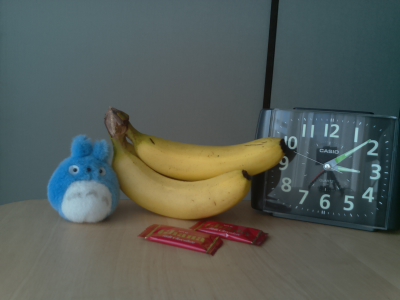
カラーバランス。
$ raspistill -w 400 -h 300 -n -ifx colourbalance -o test19.jpg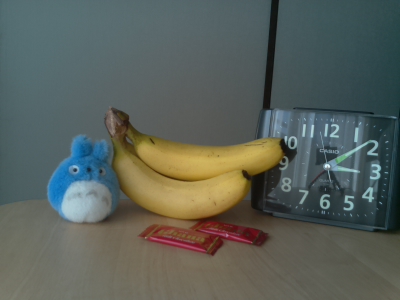
漫画。
$ raspistill -w 400 -h 300 -n -ifx cartoon -o test20.jpg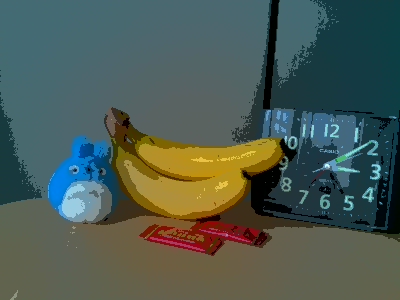
sponsored link
more
2021/09/10

2021/08/20

2021/05/19
more

2019/07/22

2018/12/23

2018/08/02
more

2025/03/11

2022/03/12

2022/02/05
more

2022/04/16

2021/09/30

2021/04/30


